Cost Allocation by Business
Overview
In the same cluster, multiple Nginx Ingress instances may be installed, and different businesses may use different Nginx Ingress instances for traffic access. If you want to allocate Ingress costs by business dimension, you can refer to the methods in this article.
Using Cloud Tags to Mark Cloud Resources
For costs generated by Nginx Ingress, they mainly come from the following two aspects:
- CLB (Cloud Load Balancer) costs.
- Costs of computing resources occupied by Nginx Ingress Pods.
The cost center supports cost allocation by tags. To allocate costs by business dimension, you can apply different cloud tags to the CLB and Pods of Nginx Ingress for different businesses.
Dividing Business by Namespace and Cloud Tags
Different namespaces in a cluster may be used for different businesses, and a business may be associated with one or more namespaces. Assume ns1 and ns2 belong to business A, and ns3 belongs to business B, with corresponding cloud tags business: A and business: B.
Creating Cloud Tags
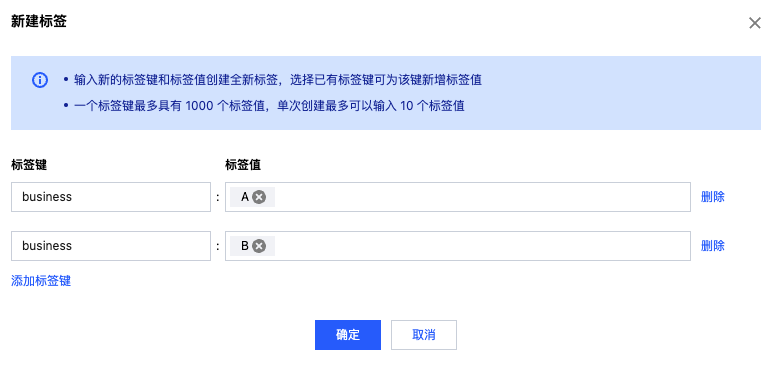
Assume the key of the cloud tag representing business is business, and the value is the specific business name, with two businesses A and B.
Click Create Tag in the Tag List:
Setting Cost Allocation Tags
Set business as a cost allocation tag in Cost Allocation Tags:

Tagging CLB with Cloud Tags
It is recommended to use an existing CLB when installing Nginx Ingress to associate the CLB. This way, you can manually create the CLB in the CLB console and specify the corresponding cloud tags.
Create CLBs for businesses A and B respectively and specify the business cloud tag:

Tagging Pods with Cloud Tags
To achieve cost allocation of Nginx Ingress Pod computing resources by business, you need to schedule Nginx Ingress Pods to super nodes or use a TKE Serverless cluster, then specify annotations for Pods to apply the corresponding cloud tags.
Additionally, note that different Nginx Ingress instances need to use different IngressClasses and Namespaces to avoid conflicts. Refer to Installing Multiple Nginx Ingress Controllers.
Assume business A's IngressClass is a-ingress and business B's IngressClass is b-ingress. Below is an example values.yaml for installing Nginx Ingress for business A:
controller:
  ingressClassName: a-ingress
  ingressClassResource:
    name: a-ingress
    controllerValue: k8s.io/a-ingress
  nodeSelector: # If not a TKE Serverless cluster, add this nodeSelector to ensure Nginx Ingress is scheduled to super nodes
    node.kubernetes.io/instance-type: eklet
  podAnnotations:
    eks.tke.cloud.tencent.com/resource-tag: '{"business":"A"}'  # Specify cloud tag for Nginx Ingress Pods
For Pod cloud tag annotation support, refer to the TKE Official Documentation
Installing Nginx Ingress
The installation namespace needs to be different. Specify the namespace used by the Nginx Ingress for that business when installing:
helm upgrade --install a-ingress ingress-nginx/ingress-nginx \
  --namespace a-ingress --create-namespace \
  -f values.yaml
Creating Ingress
Namespaces ns1 and ns2 belong to business A. Create the corresponding Ingress:
apiVersion: networking.k8s.io/v1
kind: Ingress
metadata:
  name: test-ingress
  namespace: ns2
spec:
  ingressClassName: a-ingress # Specify business A's IngressClass
  rules:
    - http:
        paths:
          - path: /
            pathType: Prefix
            backend:
              service:
                name: a-test
                port:
                  number: 80
Namespace ns3 belongs to business B. Create the corresponding Ingress:
apiVersion: networking.k8s.io/v1
kind: Ingress
metadata:
  name: test-ingress
  namespace: ns3
spec:
  ingressClassName: b-ingress # Specify business B's IngressClass
  rules:
    - http:
        paths:
          - path: /
            pathType: Prefix
            backend:
              service:
                name: b-test
                port:
                  number: 80
Viewing Cost Allocation
In Cost Center - Bills - Bill Details - Multi-dimensional Aggregated Bills - By Tag, select business as the cost allocation tag:

This way, you can display cost bills by business.